Publish a SharePoint File
To change the status of a SharePoint file from Draft to Published, do the procedure in this topic.
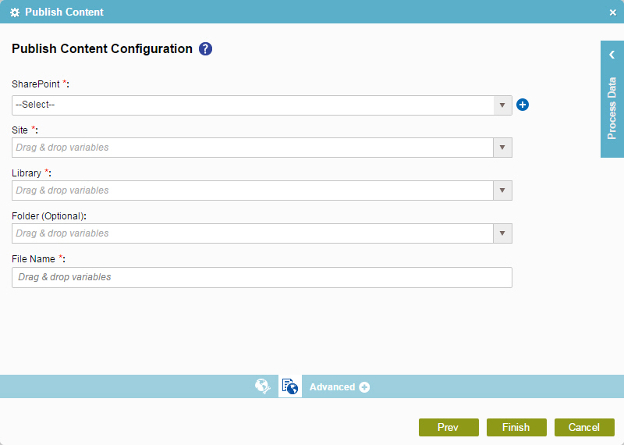
Publish Content Configuration Screen
Good to Know
- In most text fields, you can use process data variables as an alternative to literal data values.
How to Start
- On the Organizer, do one of these:
- Do one of these:
- Add an activity:
- In the Process Builder, go to the Activity Library, and
open the SharePoint
 tab.
tab. - On the SharePoint tab,
drag the Publish Content
 activity onto your process.
- In the Process Builder, go to the Activity Library, and
open the SharePoint
- Change an activity:
- In your process, double-click your activity.
- Add an activity:
- Click
Publish Content Configuration
 .
.
Procedure
- On the Publish Content Configuration screen, in the SharePoint field, select your SharePoint access token.
To create a new access token, click Add Token
 . For more information, refer to
New SharePoint Access Token.
. For more information, refer to
New SharePoint Access Token. - Complete these fields
as necessary.
Field Name Definition Site
- Function:
- Specifies the URL for your SharePoint site.
- Accepted Values:
- A valid SharePoint site URL
- A process data variable
- Default Value:
- None
- Accepts Process Data Variables:
- Yes
- Example:
-
http://[machine name]:[port]/sites/[site name]
You must include the /sites in the Site URL for the site to be created successfully.
Library
Folder
File Name
