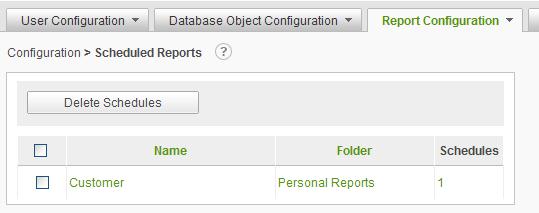
The Scheduled Reports page allows administrators to view, modify and delete any schedule(s) created for an individual report. Additionally, the administrator can create additional schedules against any already scheduled report, subscribe users to receive the scheduled reports via email and/or archive scheduled reports.
The scheduling process is flexible and easy, offering the ability to deliver reports via email in HTML format, attached in a document (e.g., PDF, Word, Excel, CSV) or offering a link to the report in the archive directory on the server.
The scheduling process is described in detail in the Report Builder Guide. The primary purpose of the Configuration / Report Configuration / Scheduled Reports page is to centrally manage existing schedules. Creating a new schedule is typically implemented using the Report Builder.
Select Scheduled Reports from the Report Configuration drop-down list to display the Scheduled Reports configuration page.
Click on the
![]() icon
to display brief help for the Scheduled Reports page.
icon
to display brief help for the Scheduled Reports page.
The Delete button will remove the schedules for the selected report. Reports are selected by clicking the applicable checkbox.
|
Note: |
|
Reports are not deleted. Only the schedules for the report will be deleted. |
A search
control may be presented for the Scheduled Reports page. Enter the
search criteria in the textbox and click on the Find Scheduled Reports
button. The search will find reports based on a contains test. To clear the
search criteria click on the ![]() in the text box. The availability
of the search feature is configurable.
in the text box. The availability
of the search feature is configurable.
The list of scheduled reports may be sorted by clicking on either the Name or Folder column header.
Click on the report Name link to run the report.
Click on the Folder link to navigate to the folder containing the report.
Click on the schedule count link to view the schedules for the report. From that page, the administrator may create new schedules for the report, remove schedules and modify schedule information.